Watch the Video
Customers
In the Customers screen, you can view all of your existing customers and create new ones.
(Please note: an internet connection is required to use this part of the app.)
When you first open the Customer screen, you’ll be given an immediate overview of all your customers, including their name, address, reference number, and tags.
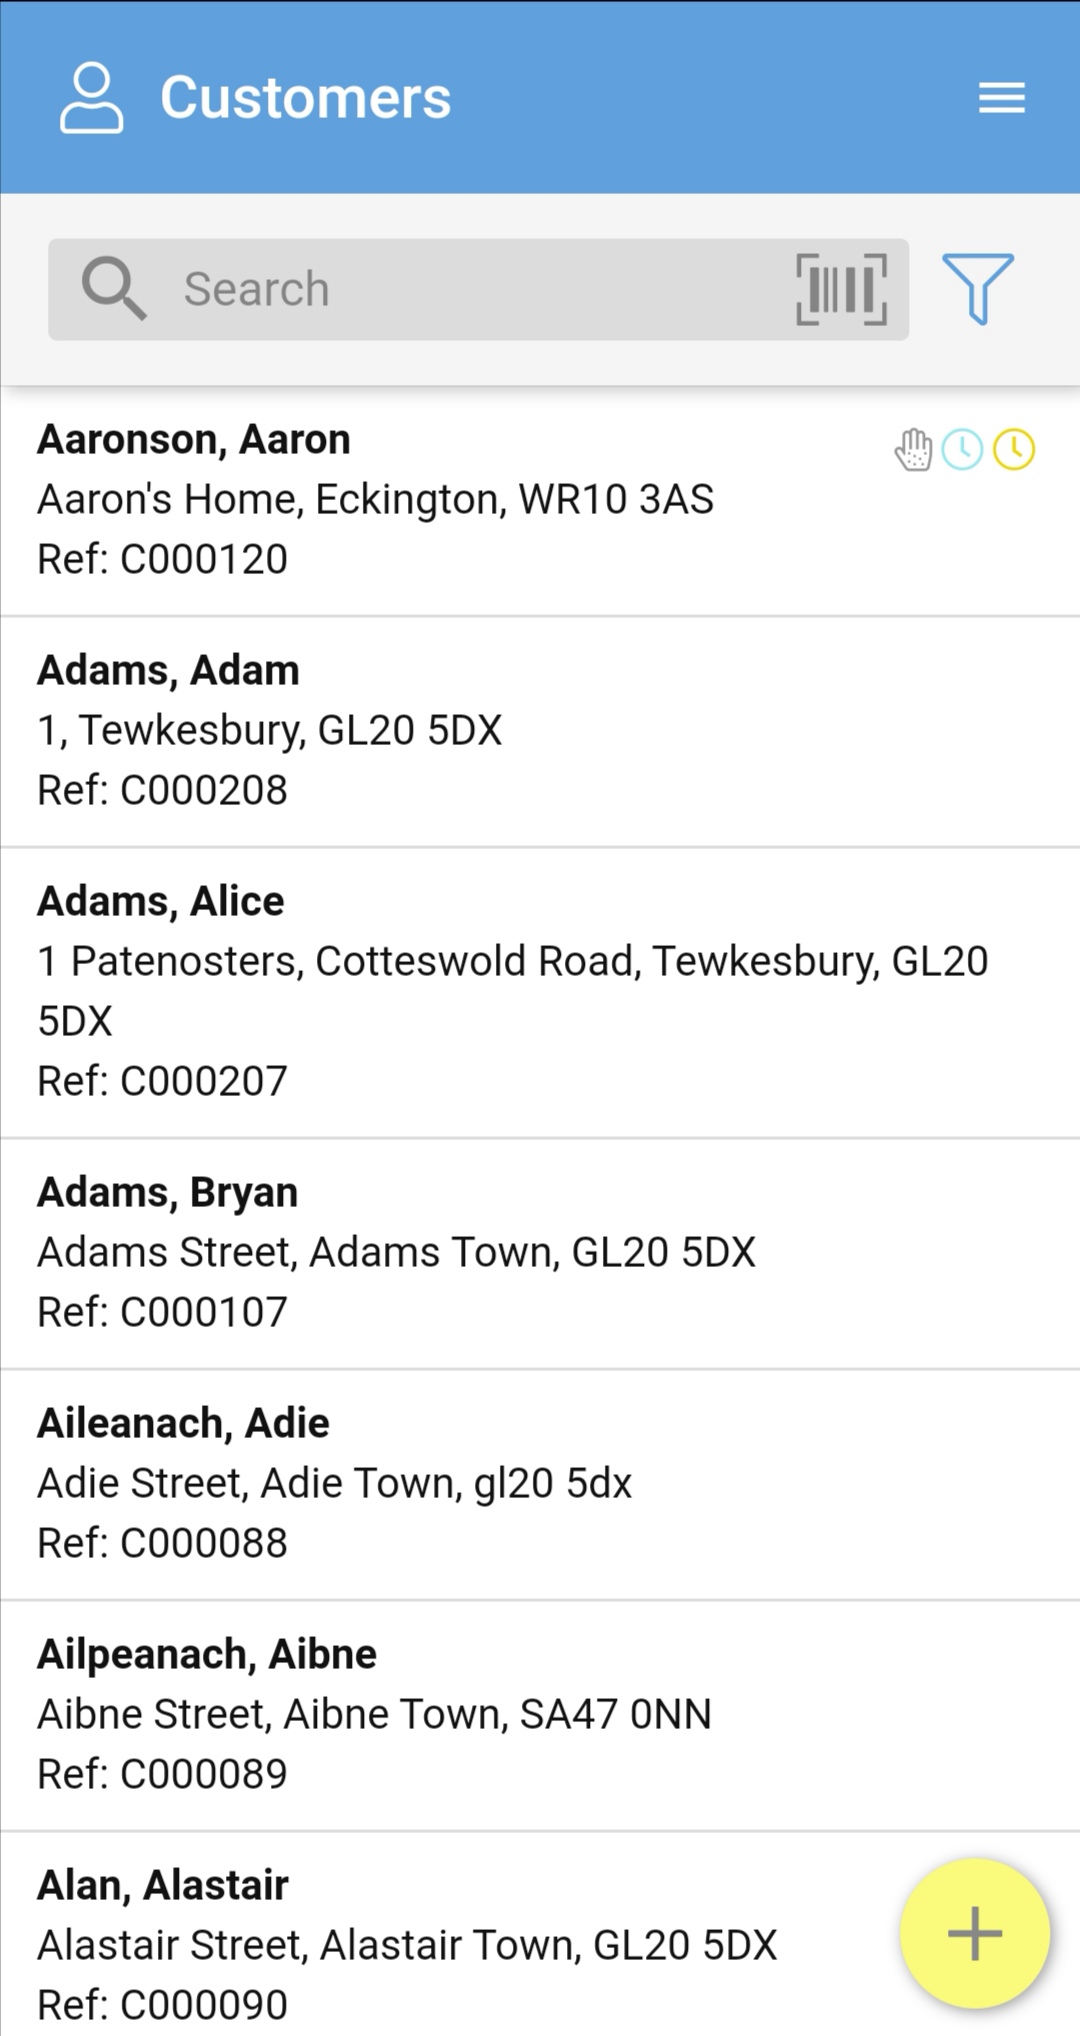
You can get more information on any customer by tapping their name.
 Here you can see:
- Tags (along with a full description for each tag)
- Date of birth
- Gender
- Reference number (automatically assigned)
- Notification status for emails and SMS
- Number of open orders
- +New Order button
- +Quick Order button
- Entity membership (the physical and/or virtual entities the customer is associated with)
- Payment exemption details (Pharmacy version only)
- All addresses on file
Tap the Orders icon to see the customer’s order history.

Here you can see:
- Order reference (which is automatically assigned)
- Tags (along with a full description for each tag)
- Created (the date the order was added to the system)
- Owned by (which entity is responsible for handling the order)
- Status (either Routed, New, In progress, On hold, Completed, or Cancelled)
- Previous task (green text shows that the task was successful, red text means that the task failed)
- Next task (the next step to be carried out)
- End task (the final step needed to complete the order)
By tapping on any of the tasks, you’ll be taken to the Task Info screen.
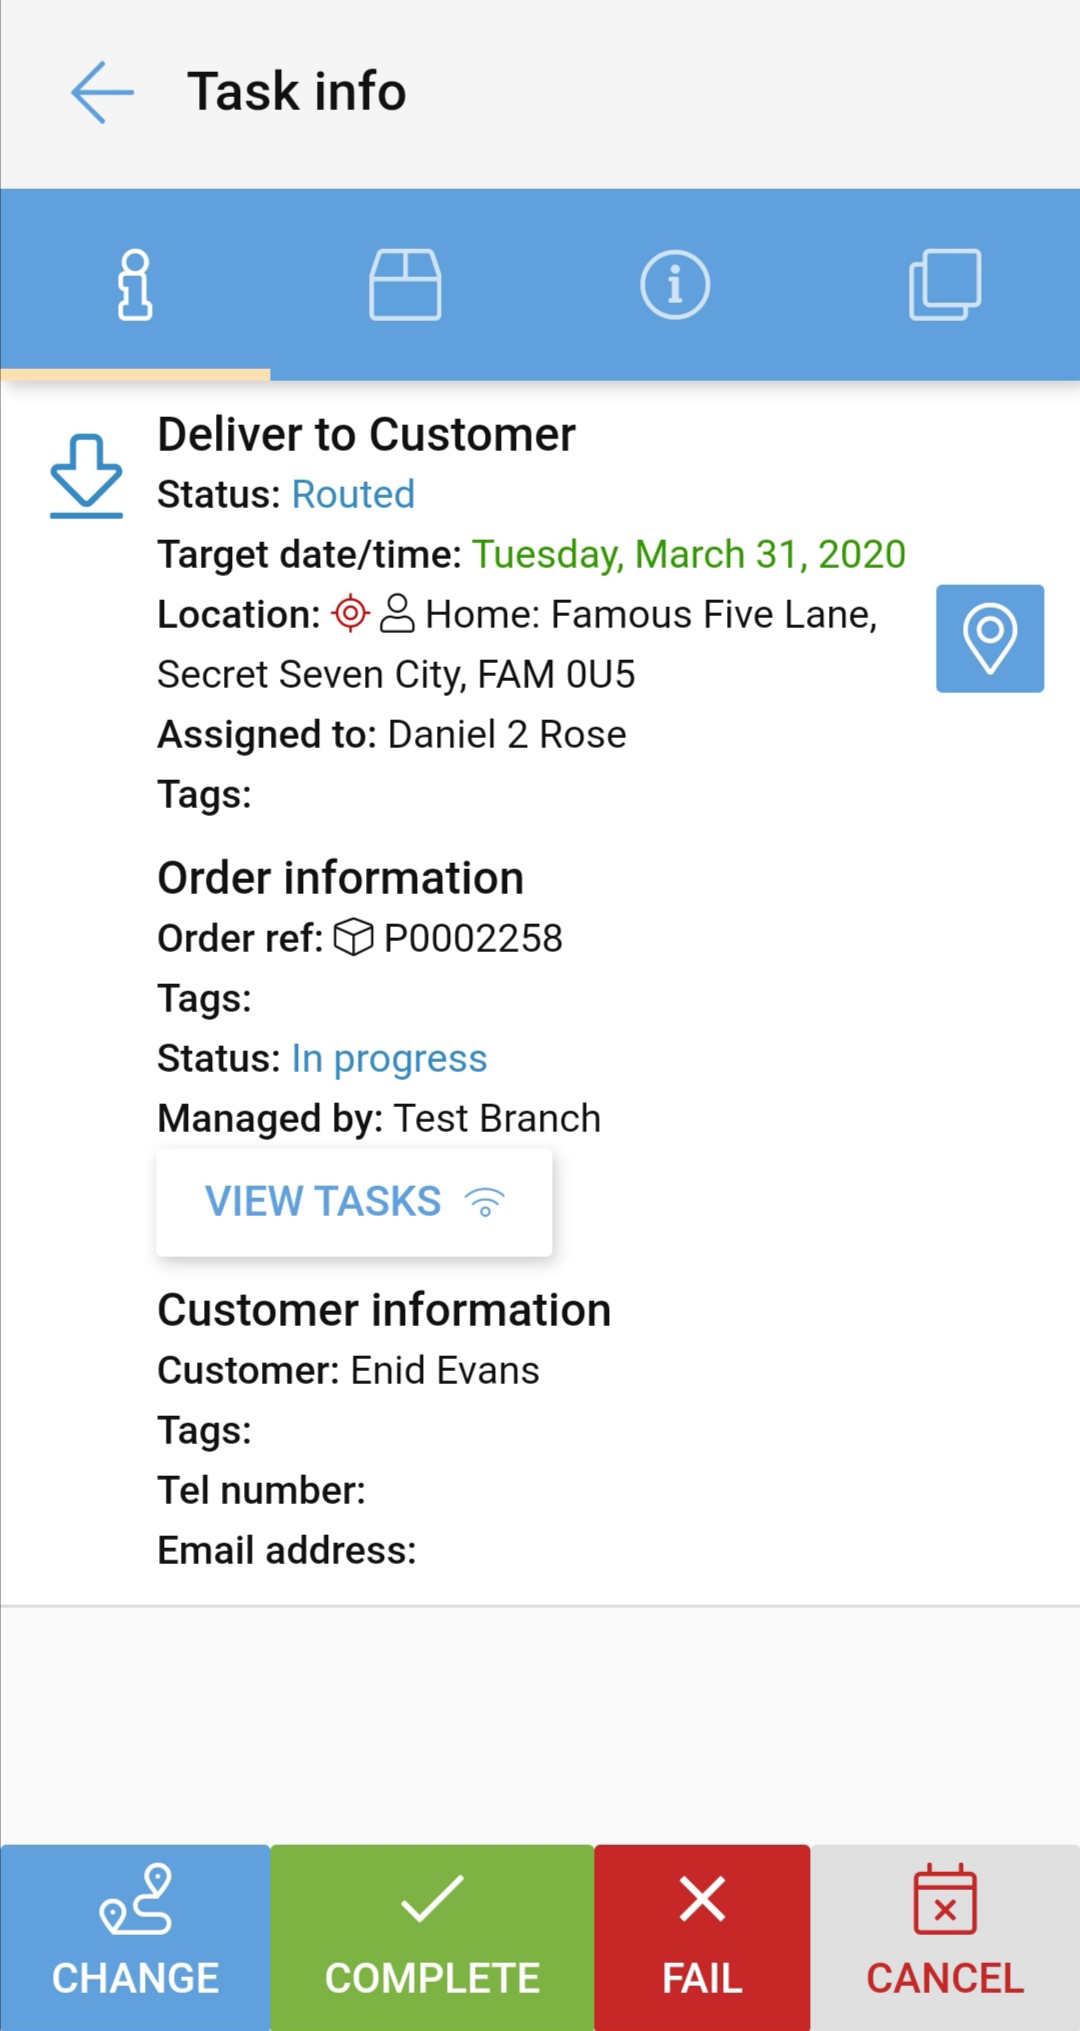
If there’s a WiFi symbol 🛜next to the task, you’ll need to be online to view the task.
Create a new order from the Customer screen by tapping on the yellow +New Order button.
Note: To take advantage of all the different options for managing your orders and tasks, we recommend using PDM Web.
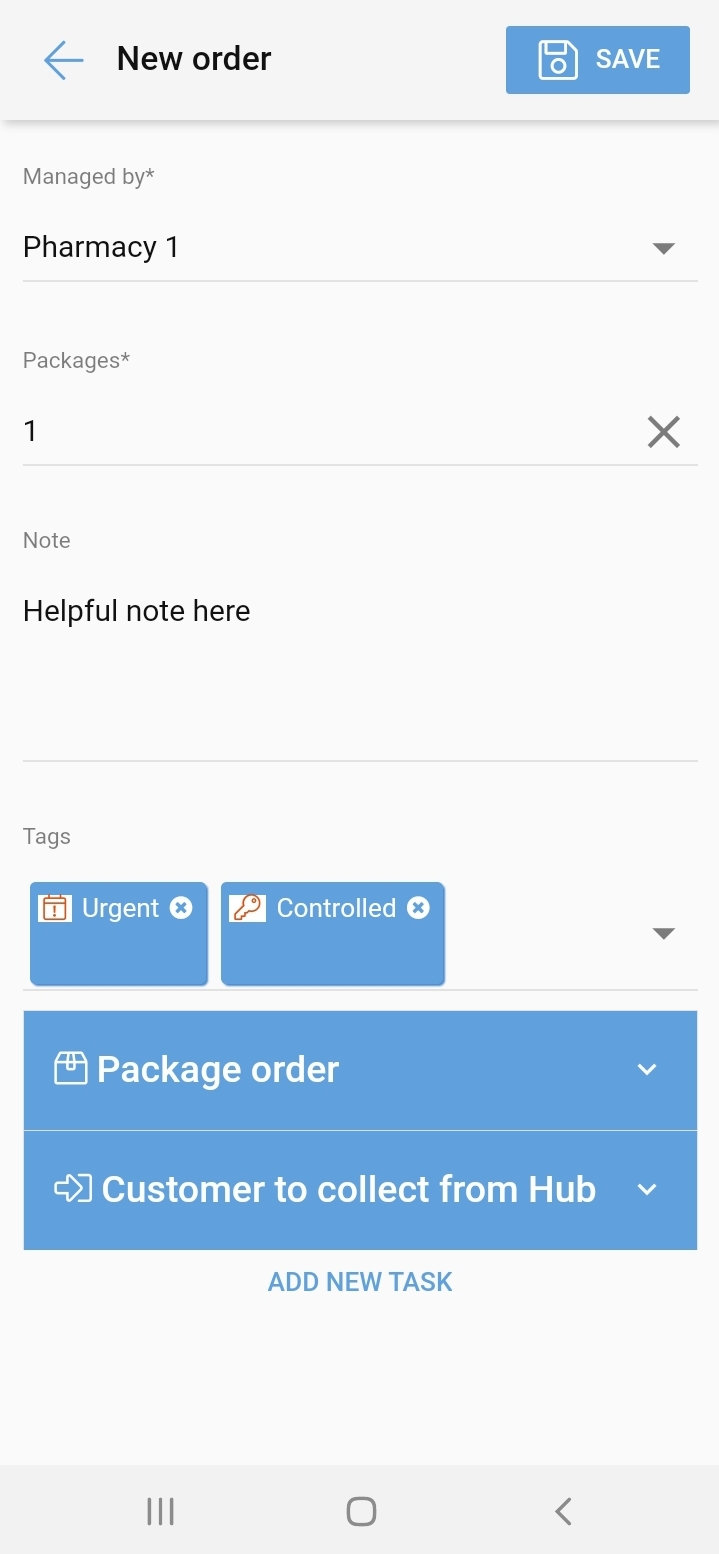
Choose which entity will be managing the order, how many packages will be in the order, include any relevant notes and/or tags, and add or remove tasks here.
Where a customer has default order information saved, this will be automatically filled in.
Click Save at the top right of the screen to save an order.
![]()
The +Quick Order button within the customer screen will create an order for the customer without any further interaction. For Quick Orders to be successful, defaults need to be saved on the customer account.
These can be set within PDM Web.
If, for example, the customer is a member of multiple entities and no default entity has been set on the account, you will be prompted to enter the missing information. Click Save when you're done.
When using the Quick Order feature, the number of open orders will increase with each successful order created.