Watch the Video
Creating Your First User Groups
When you create a user you will have noticed you can optionally assign them to a group.
User groups are an easy way to organise users within their entities.
For example, you can have separate groups for branch staff, shop staff and couriers.
To create a user group, click on Menu, then Administration. This will take you to the Administration menu. In the left column, click on User Groups. This will show you details on all the current user groups. In the top right corner, click on the yellow + New user group button.
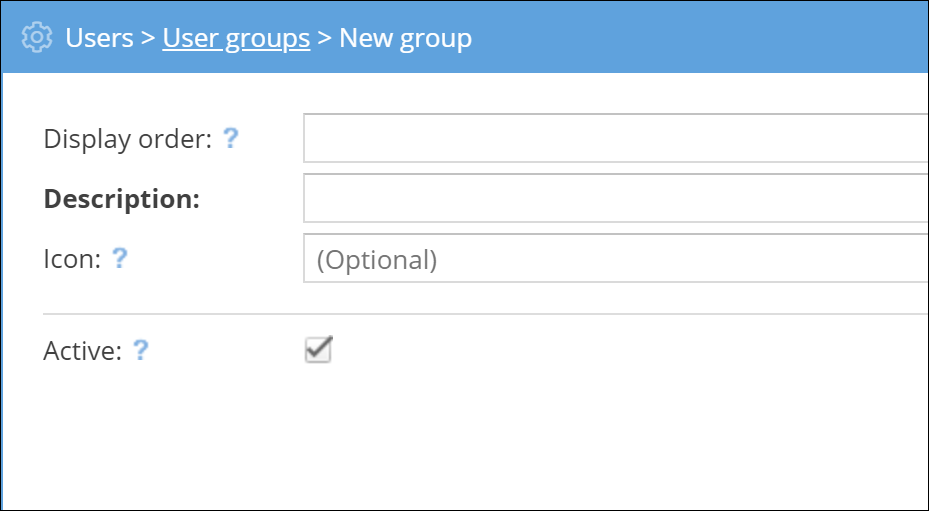
Set the display order to choose where the user group will appear in the list used to assign tasks. Tasks with a display order of ‘0’ will appear at the top of the list.
Give the group a description that will be used to identify it and optionally an icon. The group will default to an active setting, which you can change later if it’s not in use.