Watch the Video
Updating Task Status
Keeping track of and updating a live task’s status is easy. First of all, go to the Tasks module in the main menu.

The top menu allows you to view All tasks, Current tasks, Routed tasks, Pending tasks, tasks Targeted today, tasks Targeted tomorrow, tasks Running late, and cancelled or completed tasks With outcome note. You also have the option to view a Map showing all tasks tied to a physical location.
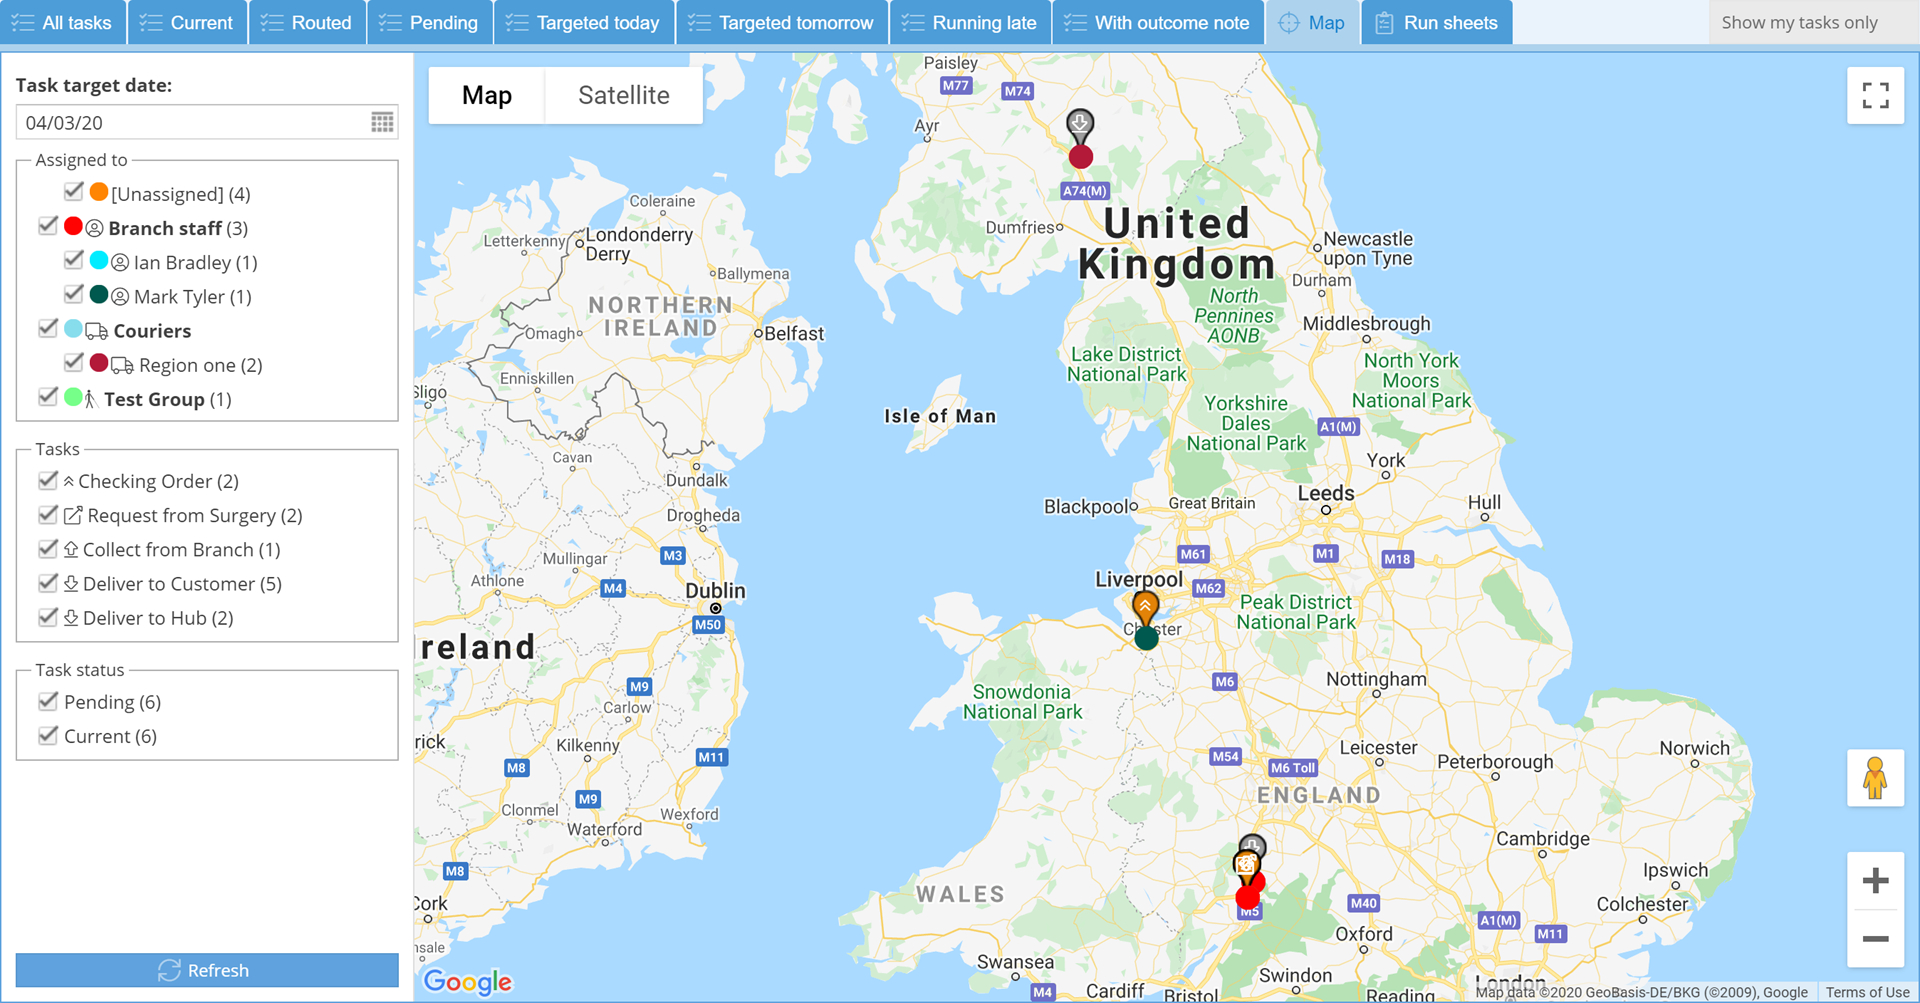
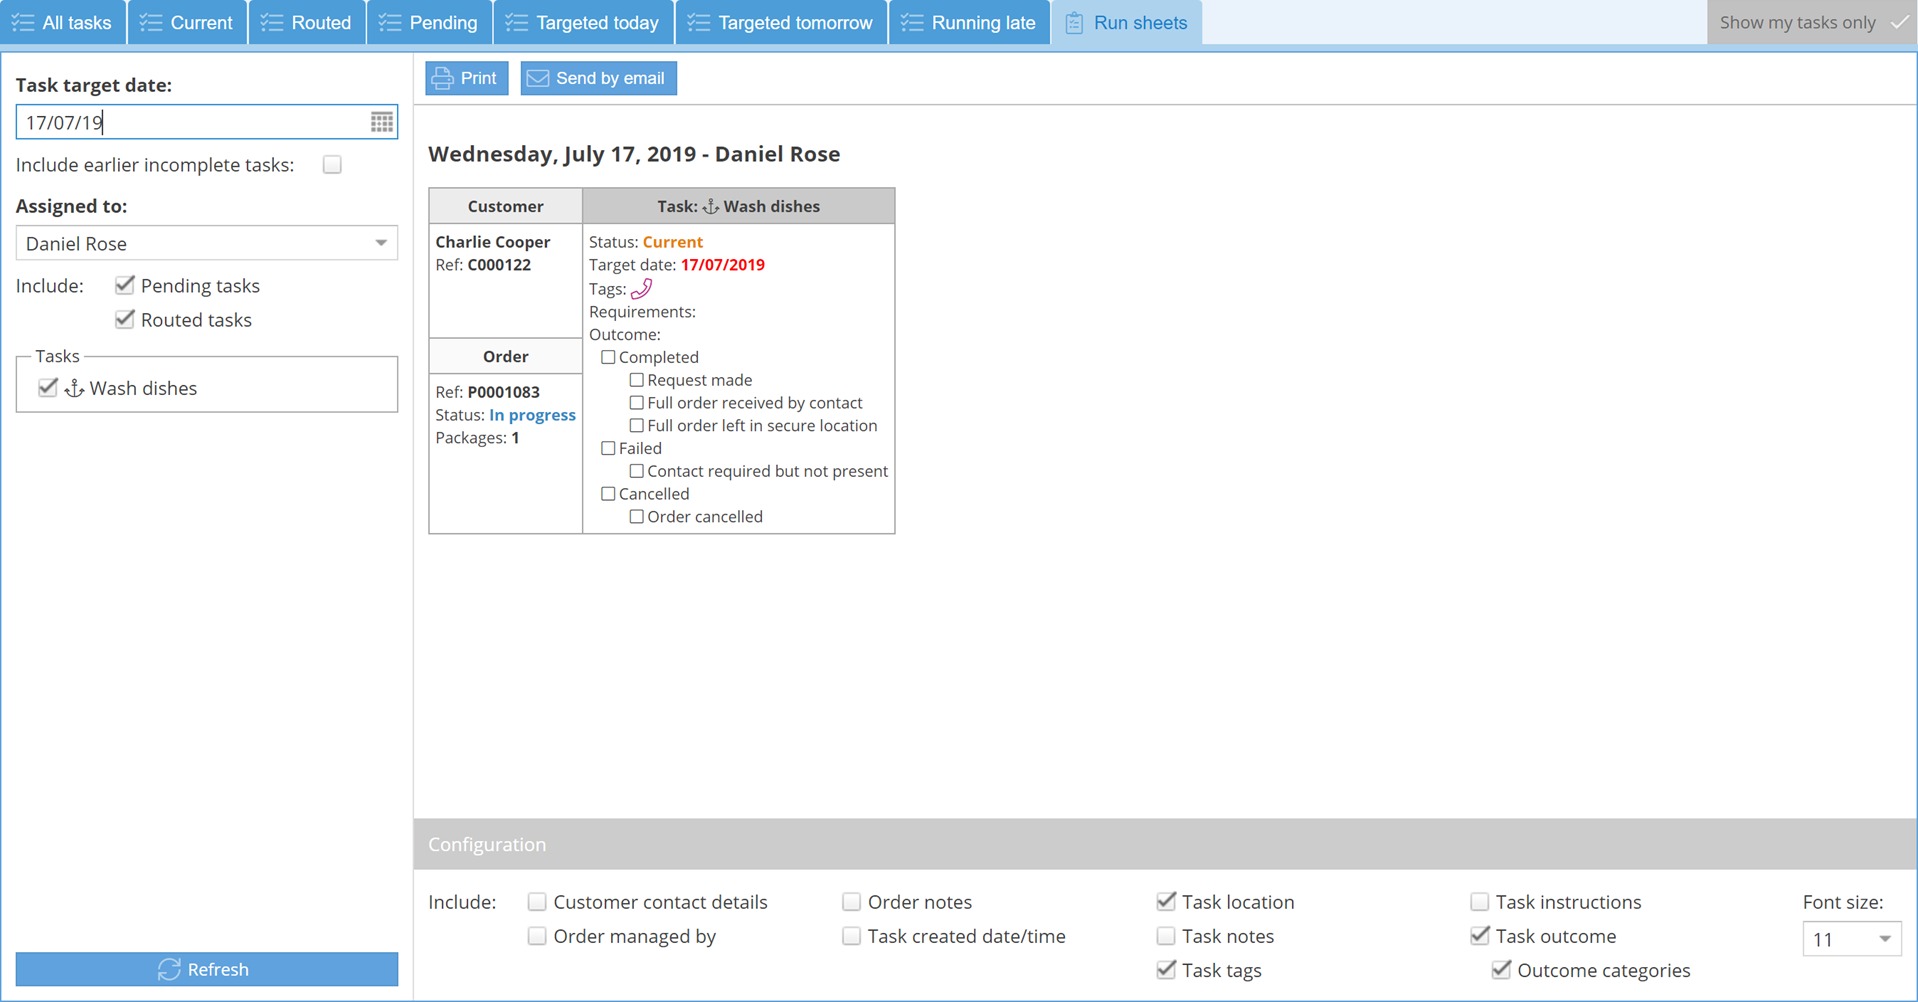
The final tab allows you to create a Run Sheet, which you can then print or send by email to staff, which is ideal for when staff need to see what tasks are due when they're offline.
You can also use the Show my tasks only button to toggle between tasks assigned to everyone and only tasks assigned to you.
Along with the overview of the tasks, the information icon will let you know if there are any additional instructions associated with a task.
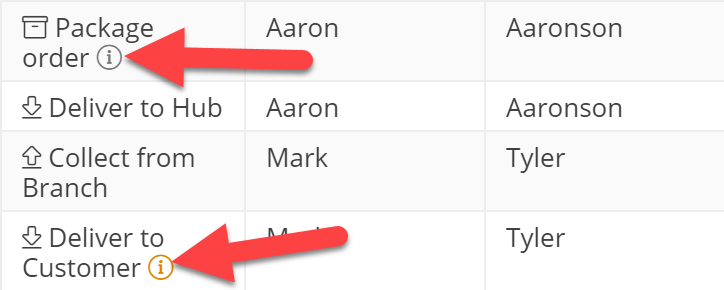
A black information icon means there are default instructions for the task. An orange icon means there are additional instructions for this specific instance of the task. Hover your cursor over the icon to see the instructions, or open the task to see the full details.
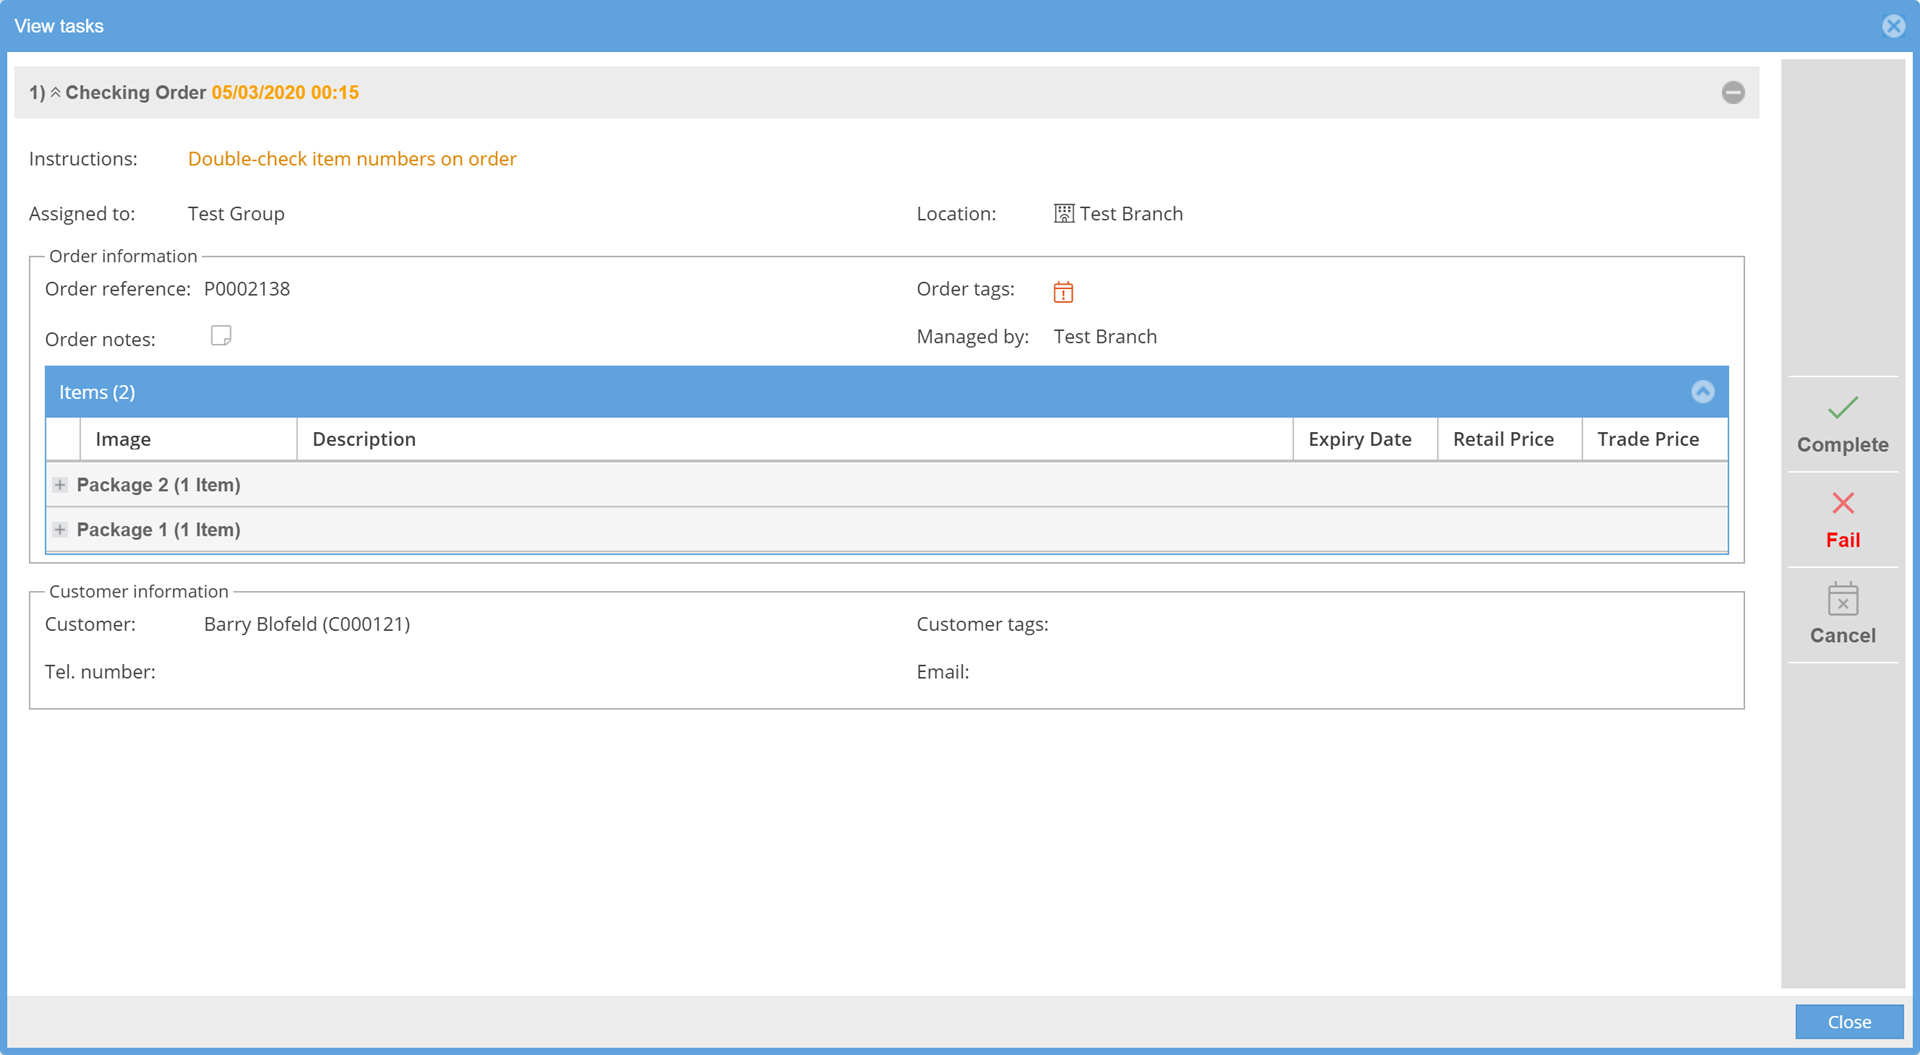
To view more information on the task, you can double-click on the task or right-click and select View task. Here you can see a summary of the task, the order information, and customer information. You can also use the options on the right to Complete, Fail, or Cancel the task.
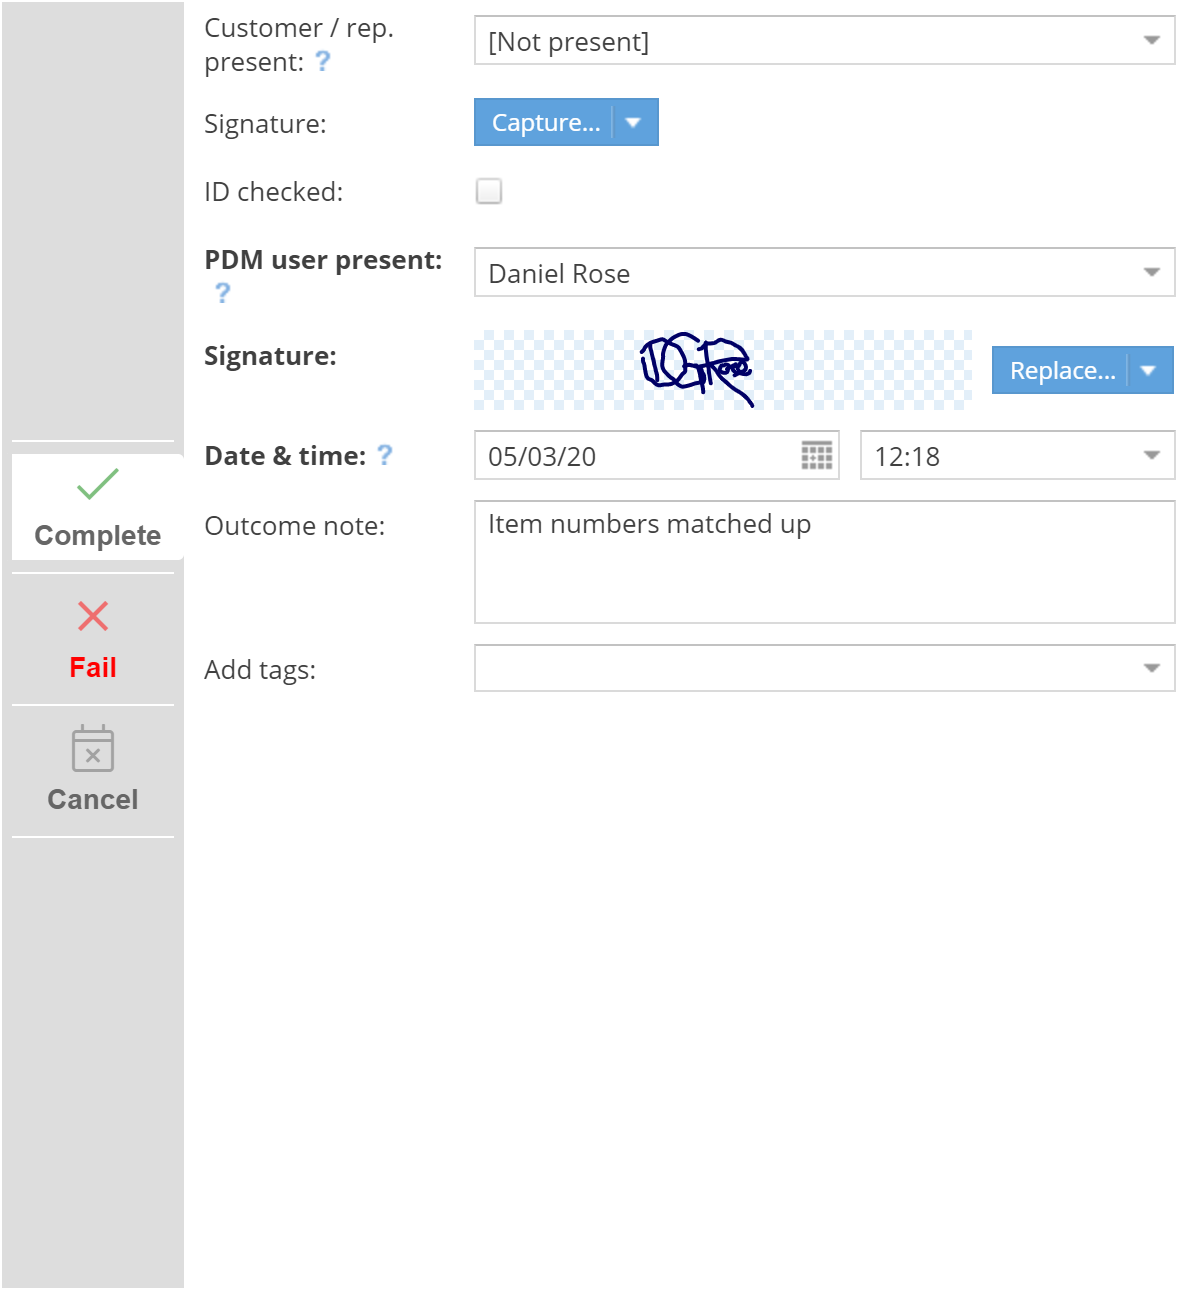
Completing a task opens up additional options. Required fields are in bold.
- Payment exemption details (Pharmacy version only).
- Customer/Rep. present: Select or enter the name of the customer or any contact that was present. You can also add a signature if required and tick the box to confirm if their ID was checked.
- PDM user present: Select the PDM user who performed/attempted this task. You can also add a signature if required.
- Date and time of the task: select the date and time that the task was completed.
- Outcome: Select the outcome that is most applicable.
You can also add any notes or tags in the Outcome note and Add tags boxes.
The completed task will be moved to the history and the next task in the queue will become the current task.
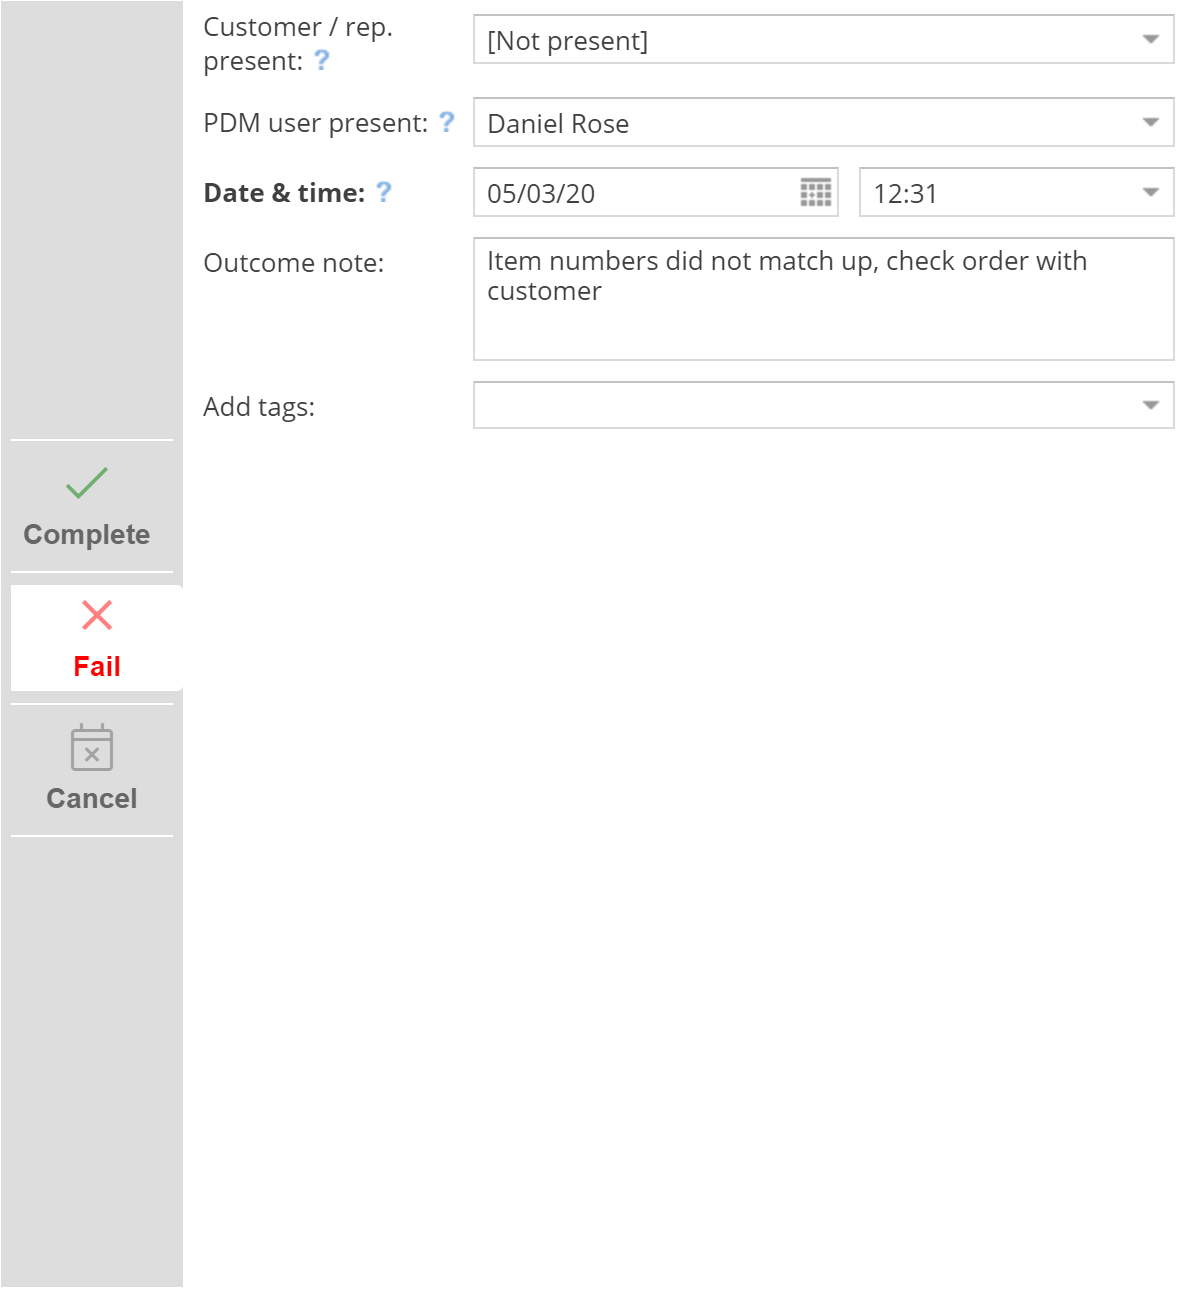
Failing a task provides you with a different set of options. The required fields are in bold.
- Customer/rep. present: Select or enter the name of the customer or any contact that was present.
- PDM user present: Select or enter the name of the customer or any contact that was present.
- Date and time: Select the date and time that the task was failed.
- Outcome: Select the most applicable outcome.
You can also add any notes and tags in the Outcome note and Add tags boxes.
Cancelling a task requires you to fill in the following options. Again, the required fields are in bold:
- Cancelled by: Select the name of the person cancelling this task
- Date & time: Select the date and time the task was cancelled.
- Outcome: Select the reason why the task is being cancelled.
You can also add any notes and tags in the Outcome note and Add tags boxes.
You can jump straight to the Complete, Fail, and Cancel task menus by right-clicking on a task. This also gives you the option to Quick Complete a task. If the Quick Complete option is not available, then there is not a current task ready to complete that doesn't require extra information before being marked as completed.
Finally, you can also reassign the task, view/edit the order, and view/edit the customer from this menu.
If the task was cancelled or failed, the order will be put on hold.
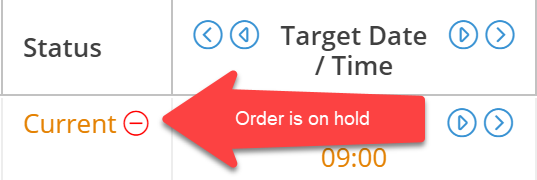
In the associated order, cancelled or failed orders will be moved to the history, and a warning will be displayed.

While you can ignore the warning and carry on completing subsequent tasks, it's highly recommended you address whatever issue caused the task to be failed or cancelled.
To remove the On Hold status for an order, either reschedule the cancelled/failed task or insert a new task.
When the final task in an order is completed, the order will automatically be completed if the box “Mark order as "completed" when final task is completed” is ticked.