 Watch the Video
Understanding Grid Views
Most of the information in PDM Web (including the Customers, Orders, and Task modules) is presented in a grid.

Whichever grid you’re looking at, they all have a number of common functions, so you can see all the information you need to and none that you don’t.
If you’re familiar with spreadsheets (such as in Excel or Google Sheets), you’ll be right at home with grids.
Sorting your information
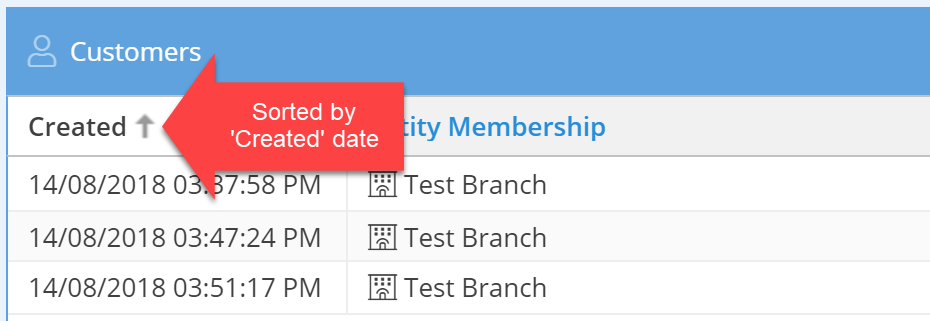
To sort your information by ascending order, simply click on the title row you want to sort. Click again to sort by descending order. Alternatively, click on the drop-down menu from the title row and choose either Sort Ascending ⇧ or Sort Descending ⇩.

An arrow next to the title will show you at a glance how your data is being sorted. An up arrow ⇧ means ascending order, a down arrow ⇩ means descending.
Displaying and hiding columns
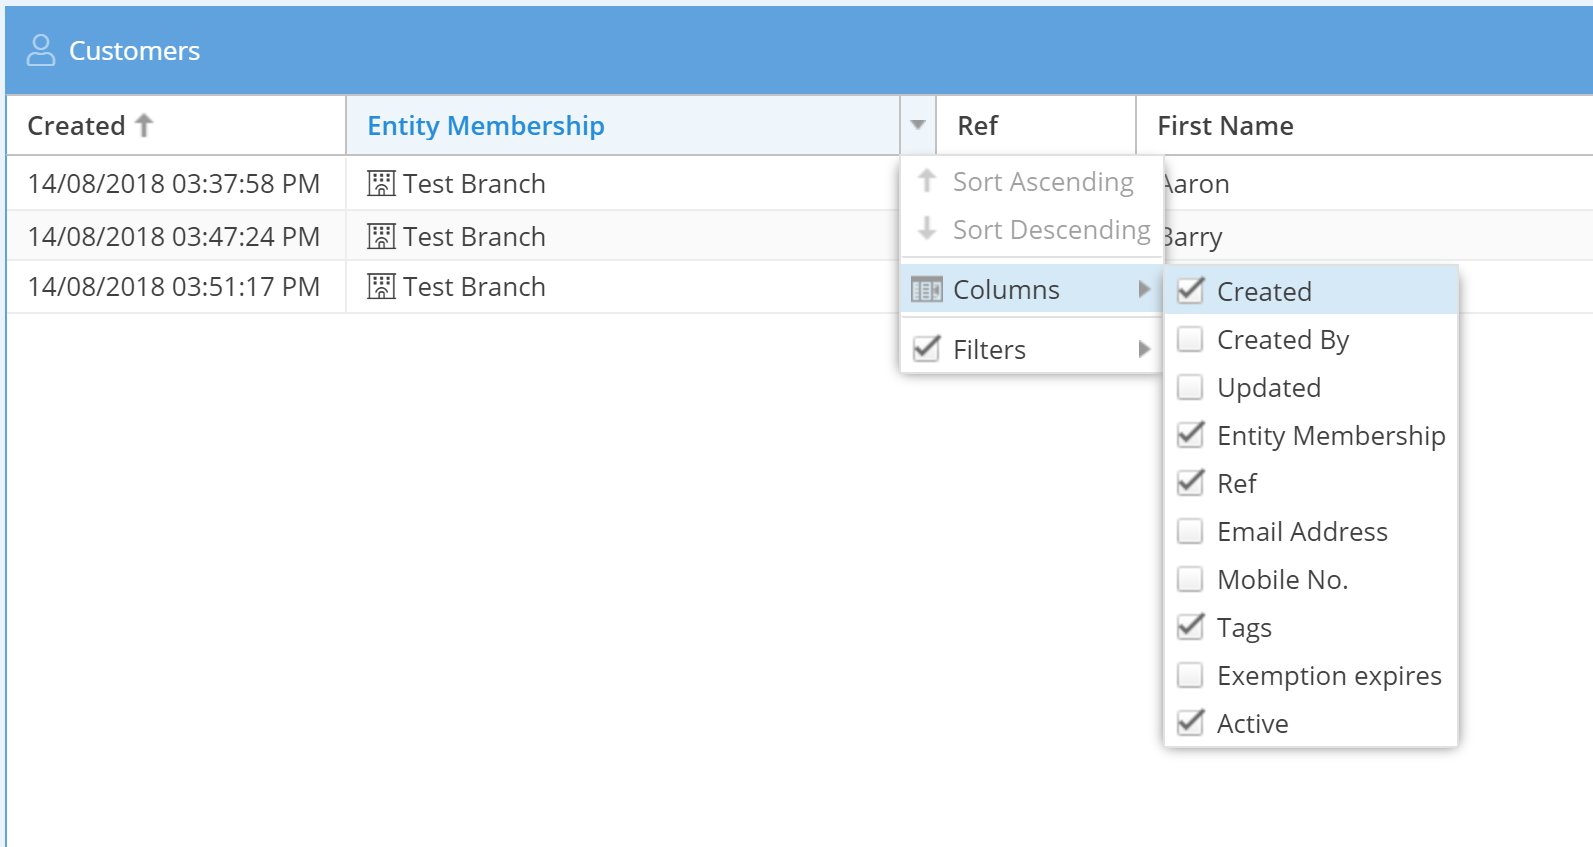
You can easily choose which columns are displayed. Hover over any title row and click on the drop-down arrow that appears. Select Columns to see a list of all available columns. Tick the relevant box to display the column, untick to hide it.

If you find you need to resize the columns to show all the information, hover over the column border then either click and drag to set the width manually, or double-click to automatically set the width to show all the data in the cell.
Navigating the grid
At the bottom of the page, there are buttons for navigating the grid. You can click the relevant double arrows to go to the first/last page, or the single arrows to go the previous/next page.

Click the ‘Refresh’ icon to make sure you’re seeing the latest data.
Using ‘Reset view’ will reset the columns to their original settings.
‘Clear filters’ will remove any filters you’ve set.


