Watch the Video
Managing Tasks
View all assigned tasks from the My Tasks screen in the main menu.
Alternatively, view unassigned tasks from the Unassigned Tasks screen.
Individual tasks can only be created and assigned by PDM Web users.
In this tutorial you will learn how to:
- Complete tasks
- Fail tasks (for example, if there is no one to receive the delivery)
- Cancel tasks (for example, if the parcel is to be collected from the branch instead of being delivered)
- Undo tasks (for example, if a delivery is marked as Failed due to no answer, the driver can Undo it and mark as Completed.)
- View delivery notes
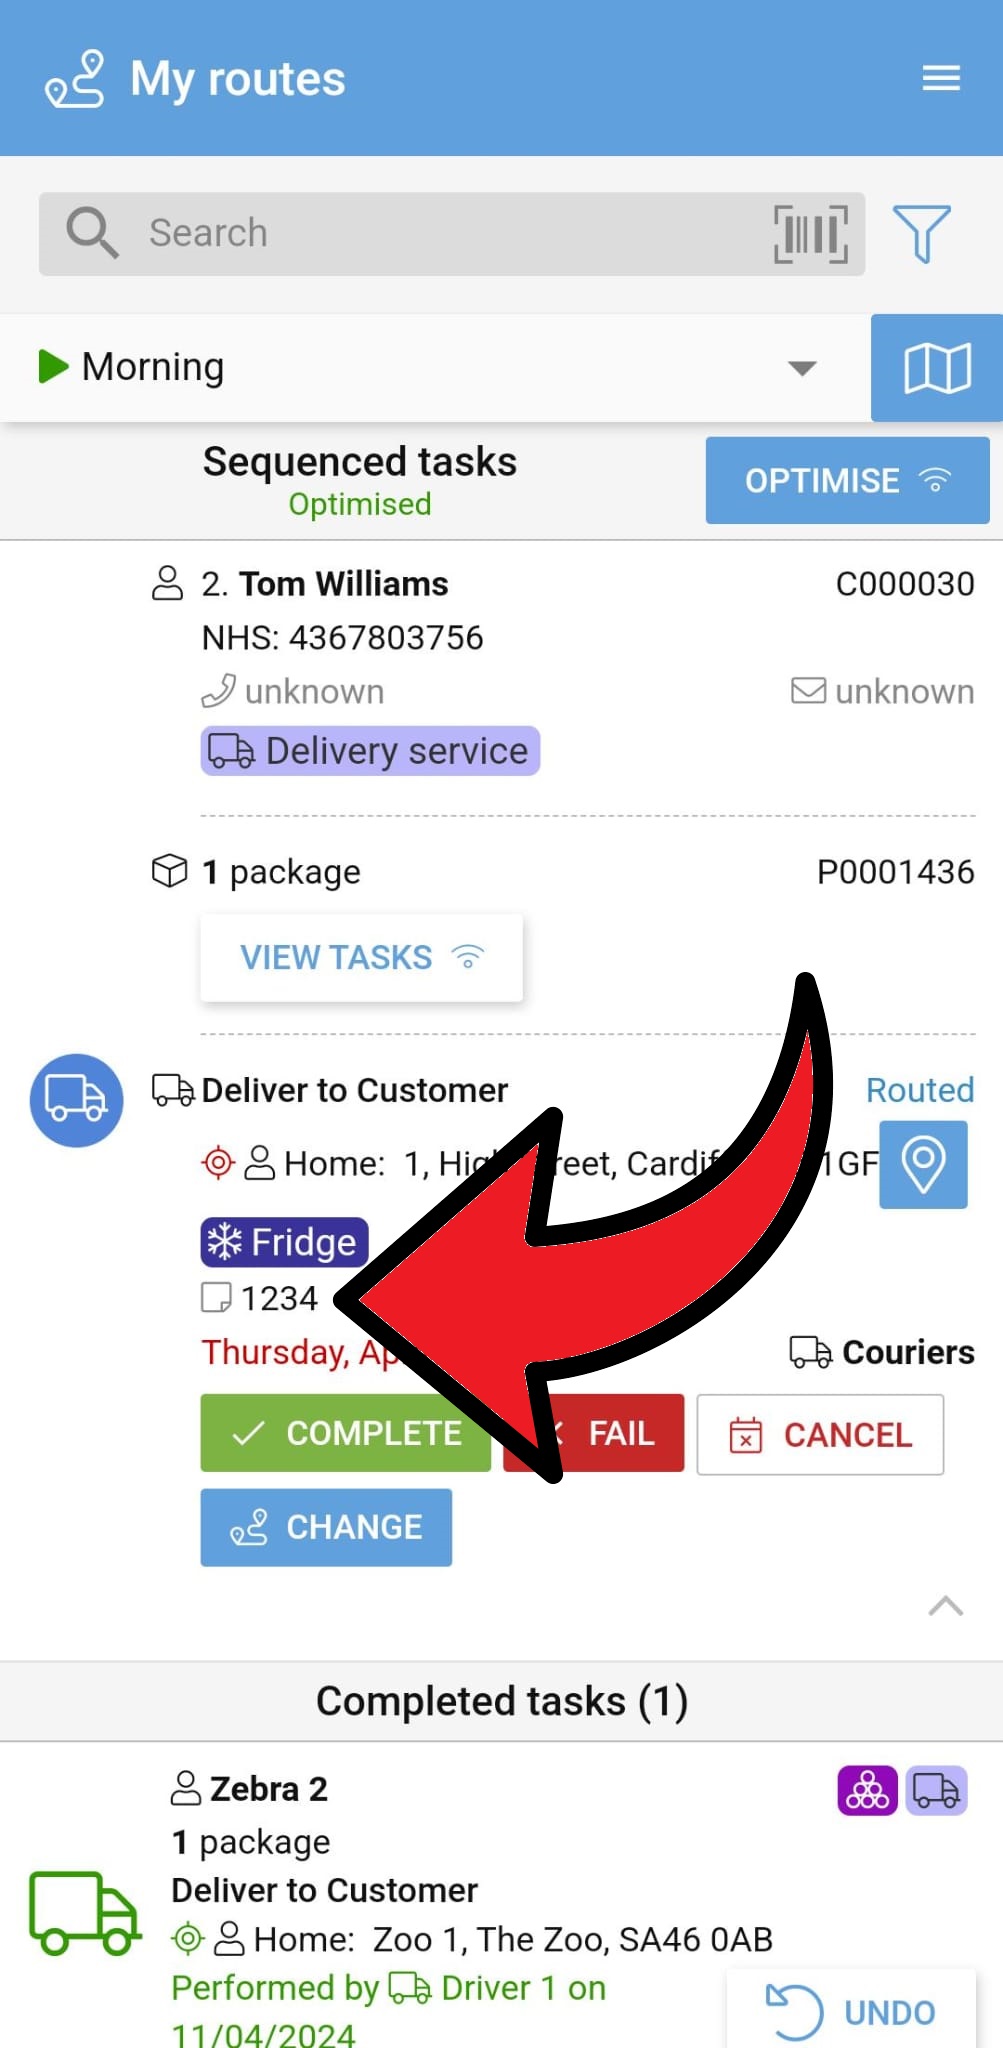
To reveal more details about a task, just tap on the task.
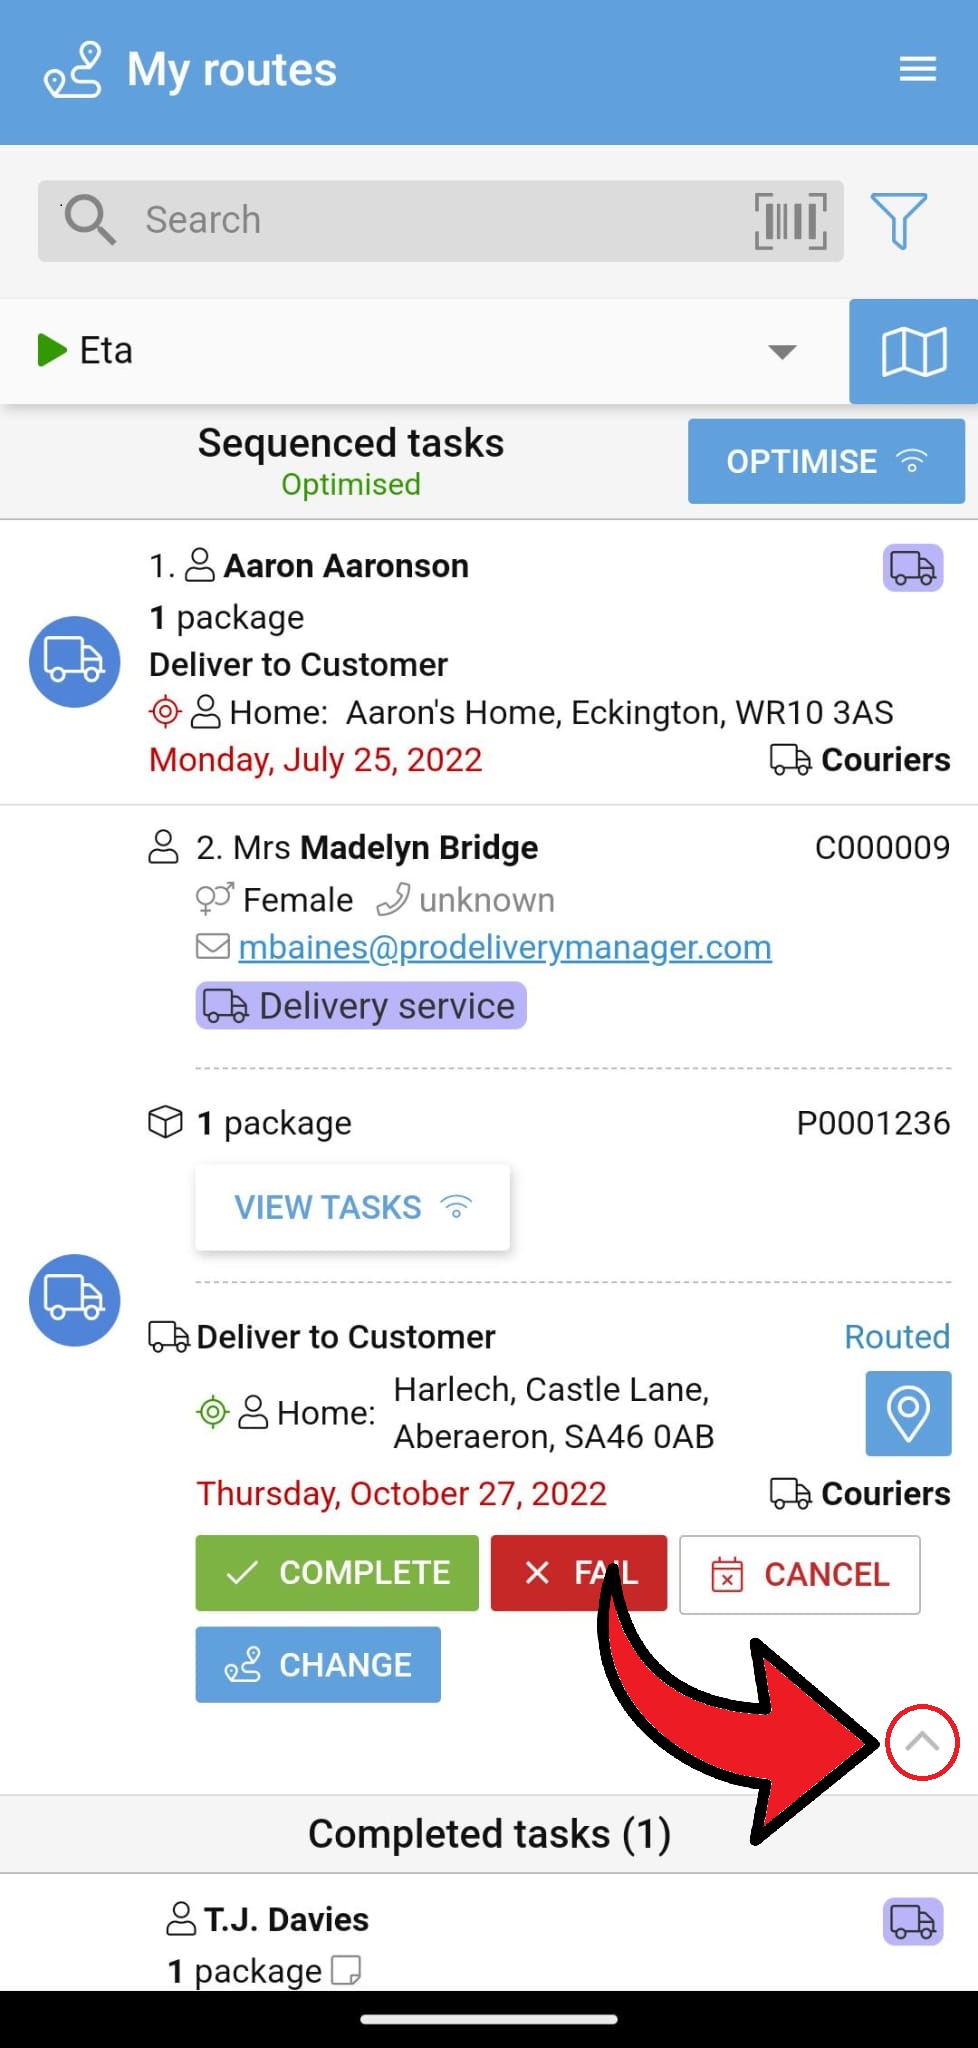
To close the detailed view, tap the ^ button at the bottom right of the panel.
Here you can see all the relevant task information, including:
- Customer name
- Customer contact details
- Number of packages
- Task name (for example, Deliver to Customer)
- Address (which includes a link map of the location, just tap the pin)
- Target date/time
- Note(s)
- Assigned to
- Status (pending, current, routed)
You'll also see the order and customer information below the task information.
Tapping on the 'View Tasks' button will display the other tasks in the same order (this action requires you have an internet connection).
At the bottom of the screen, you'll see four options for managing the task:
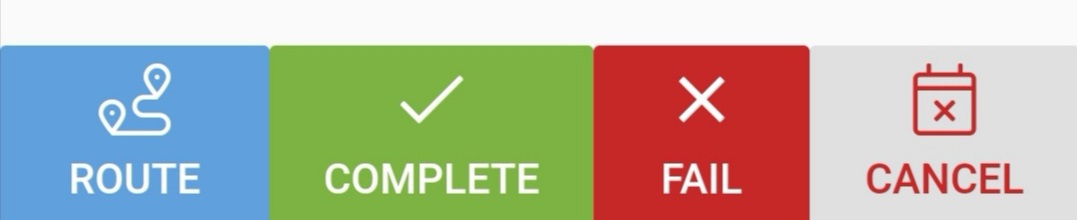
If the task is routable, you'll have the option to add it to a route here (see the My Routes PDM App tutorial for more details on managing your routes).
This button can also be used to move a task between routes or remove it from a route if the task is already on a route.
Complete a Task
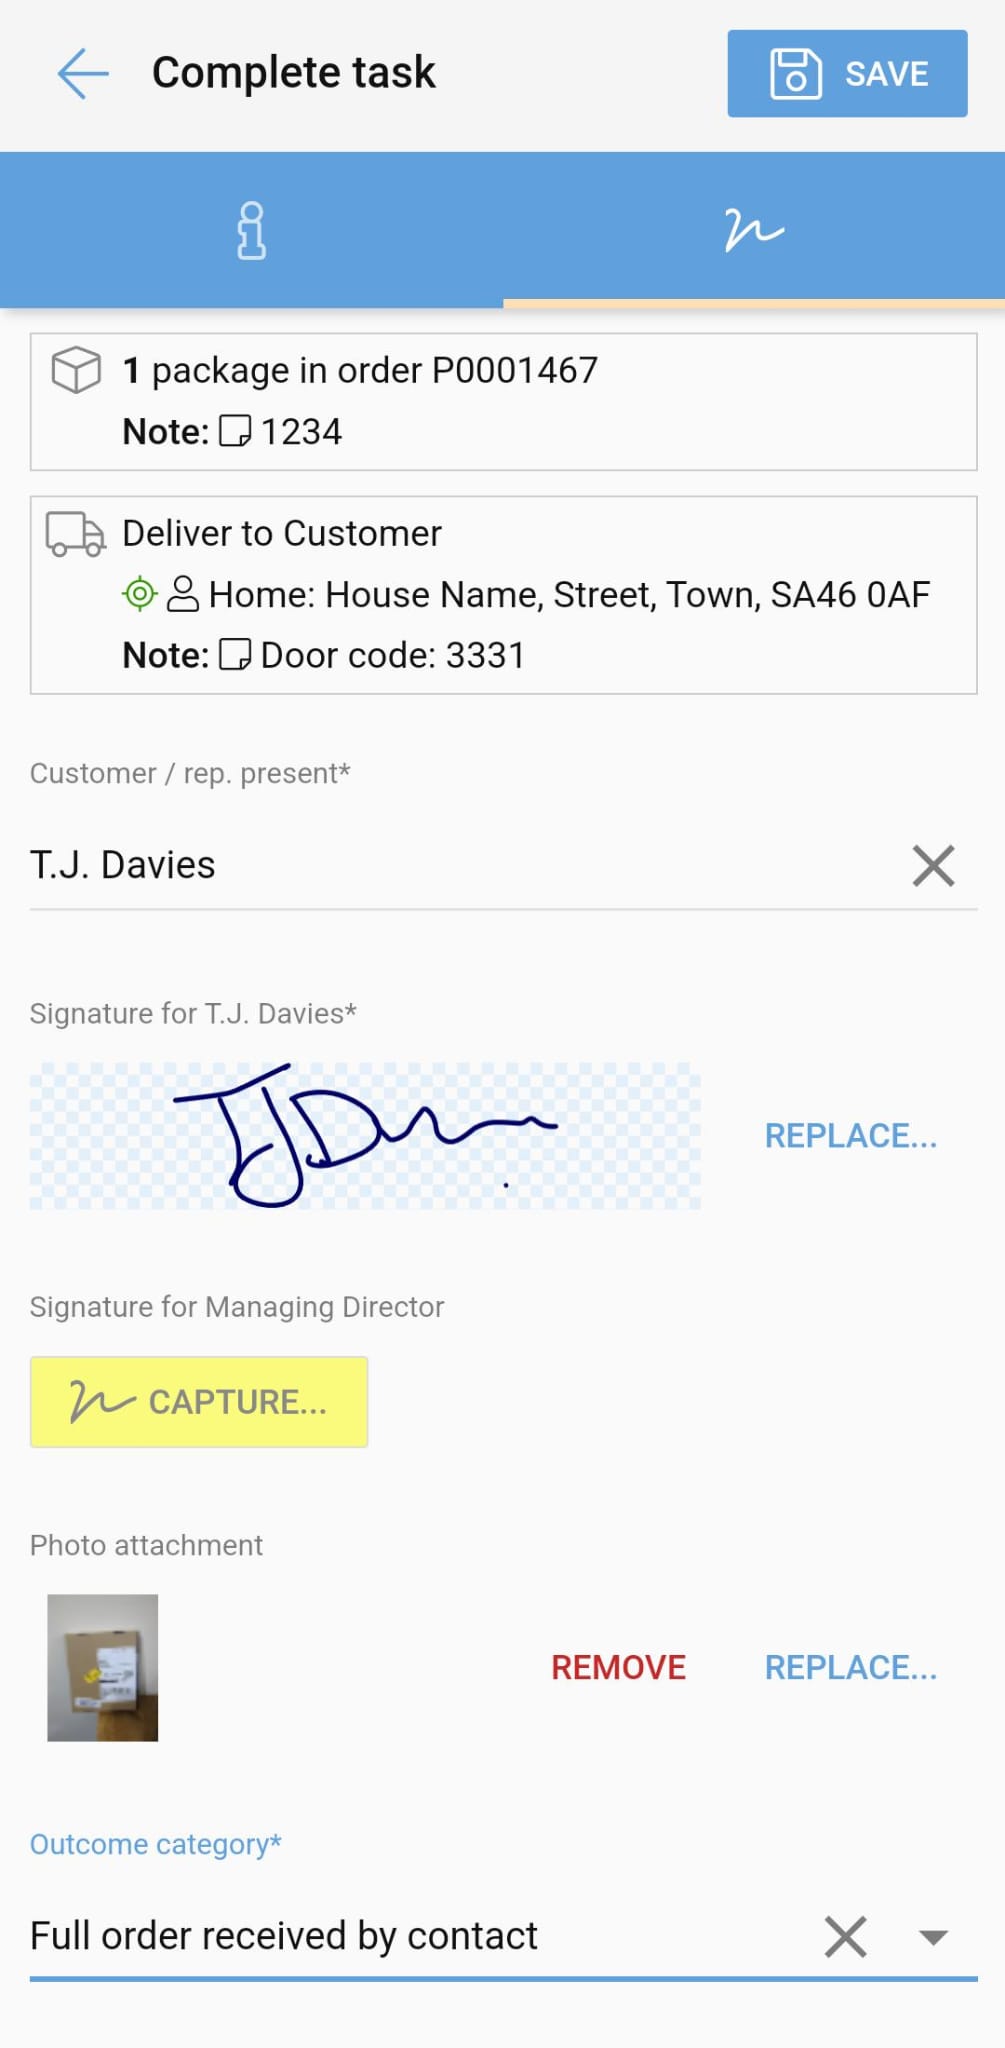
If you're ready to complete the task, tap the green 'Complete' button.
You'll be prompted to confirm any required details and have the option to capture any signatures or photos as proof that the task was completed successfully.
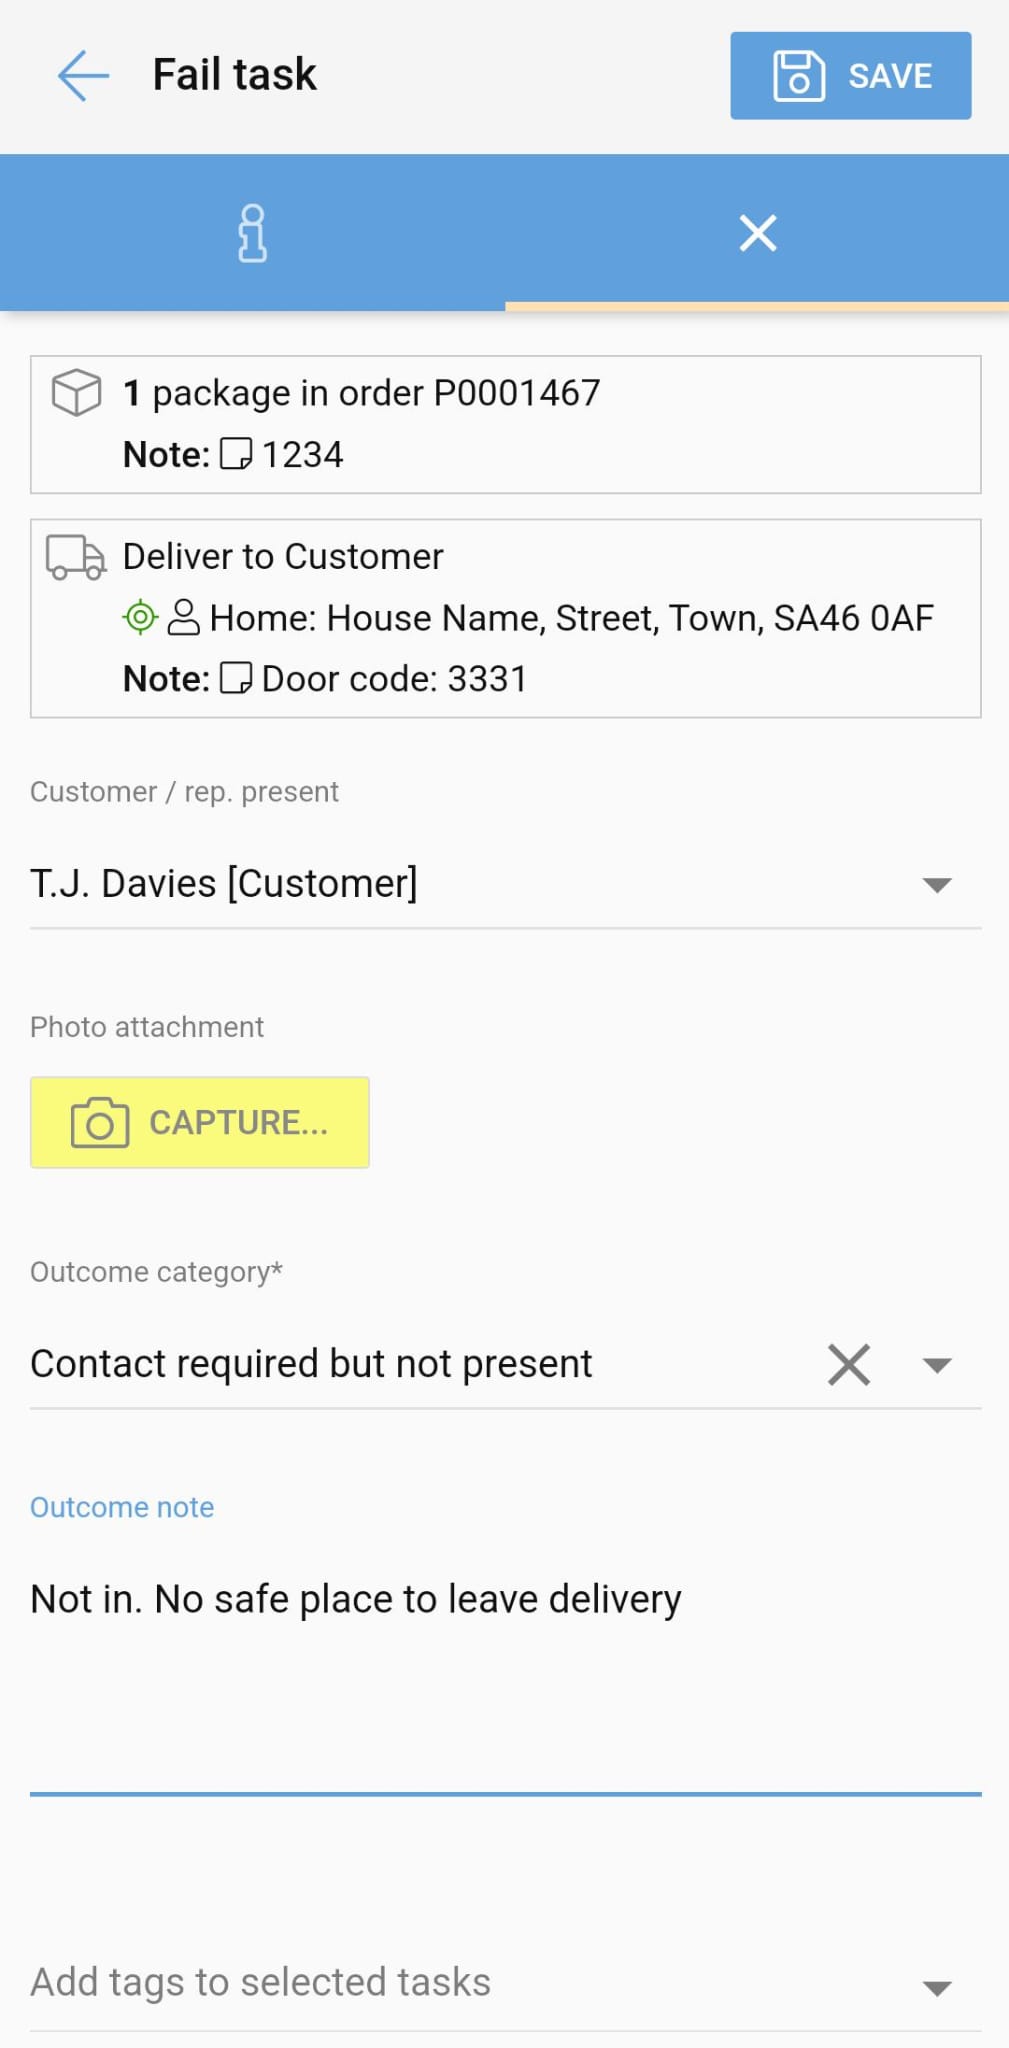
Fail a Task
If the task has failed - for example, if the recipient was not home and the parcel needs to go back to the branch - tap the red 'Fail' button. You'll be prompted to fill in the required details, such as the outcome category and any other notes. You'll also have the option here to add a photo attachment.
Cancel a Task
Finally, if the task has to be cancelled, tap the grey 'Cancel' button. You'll be prompted to fill in the necessary details, such as who has cancelled the task and the reason for cancellation (using the outcome category drop down menu).
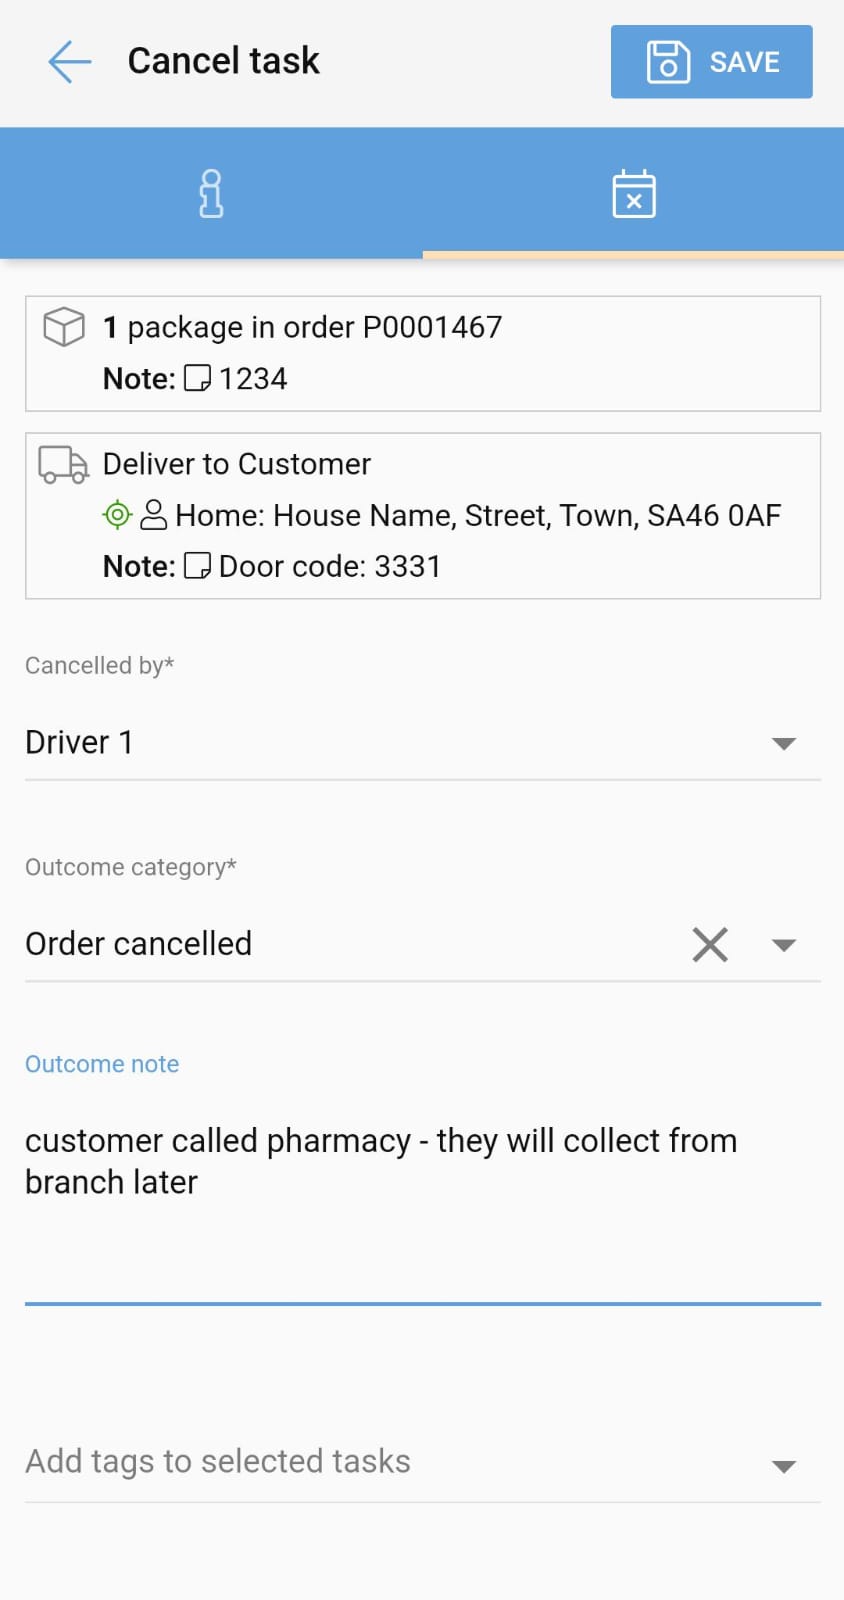
The task information will be updated and available to view on PDM Web.
Undo a Task
To undo a task outcome, simply tap the Undo button that will appear once a task has been marked as Completed, Failed or Cancelled. Please note: an internet connection is required to Undo tasks.
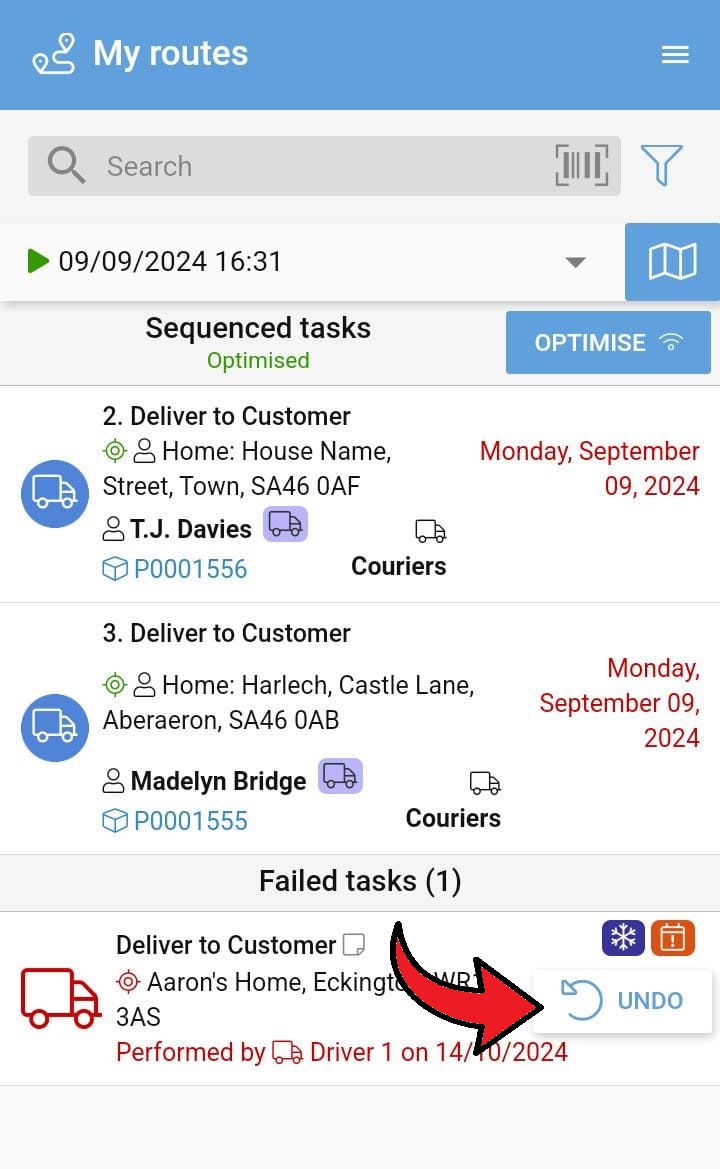
This feature is useful if, for example, a driver attempts to make a delivery but there is no answer at the door, so they fail the task. However, if the recipient then comes to the door, the driver can simply undo the Failed task and mark it as Completed instead.
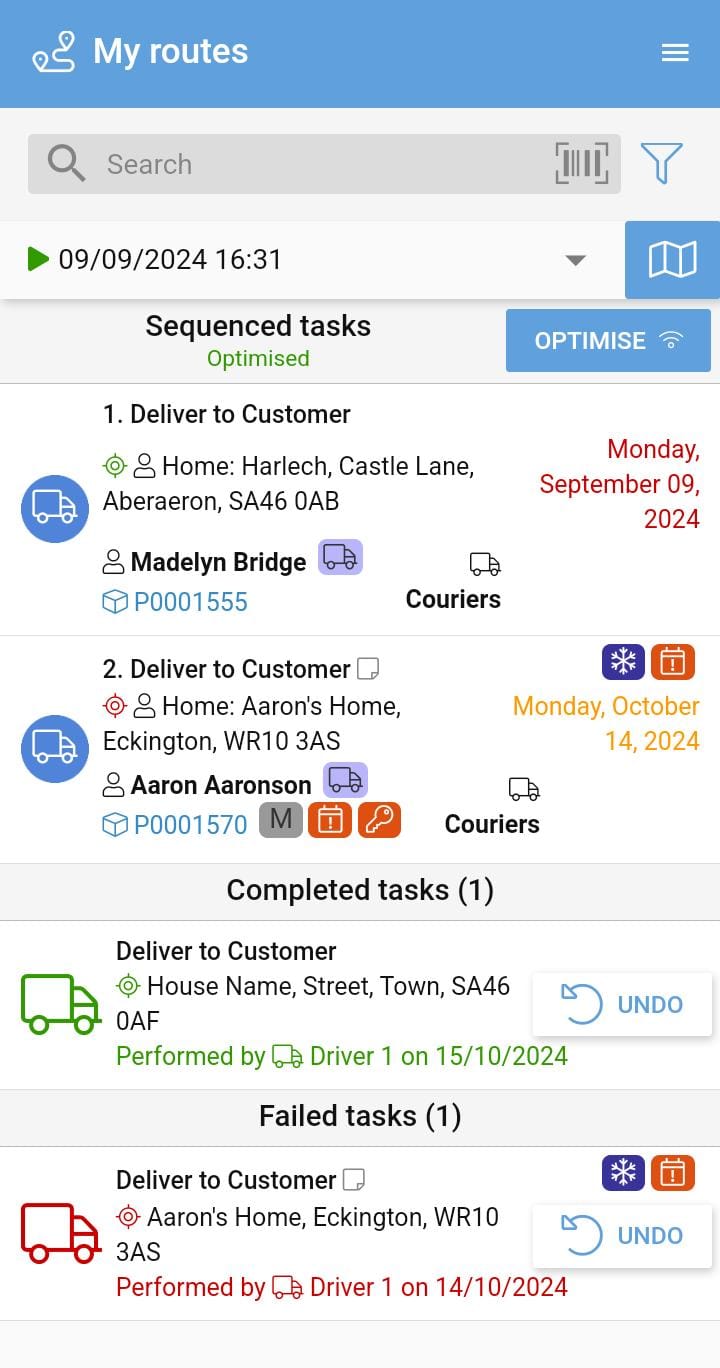
The Undo button will be present while the Route is active. As soon as the route is ended, it is no longer possible to undo a task outcome.
View delivery notes
The driver can see delivery notes in PDM App when viewing the expanded view of the delivery task.